

How to install a screen blade?
Hey there! As a screen blade supplier, I've seen firsthand how important it is to know how to install a screen blade properly. Whether you're a seasoned pro or just starting out in the world of screen printing, getting the installation right can make all the difference in the quality of your prints. In this blog post, I'm going to walk you through the step-by-step process of installing a screen blade, so you can achieve those perfect prints every time.
What You'll Need
Before we dive into the installation process, let's go over the tools and materials you'll need. Here's a quick list:
- Screen Blade: Of course, you'll need the screen blade itself. We offer a wide range of screen blades, including the Polyurethane Silk Screen Squeegee Blades For Screen Printing and the 65/90/65 Shore A Triple Duro Squeegee By Roll. Make sure to choose the right blade for your specific printing needs.
- Squeegee Handle: A good squeegee handle is essential for a comfortable and efficient printing experience. You can find a variety of squeegee handles on our website, including the Squeegee.
- Scissors or Utility Knife: You'll need a sharp pair of scissors or a utility knife to cut the screen blade to the appropriate length.
- Measuring Tape: To ensure a precise fit, use a measuring tape to measure the length of your squeegee handle.
- Clean Cloth: A clean cloth will come in handy for wiping down the squeegee handle and the screen blade before installation.
Step 1: Measure and Cut the Screen Blade
The first step in installing a screen blade is to measure and cut it to the appropriate length. Start by measuring the length of your squeegee handle using a measuring tape. Make sure to measure from end to end, including any grips or attachments.

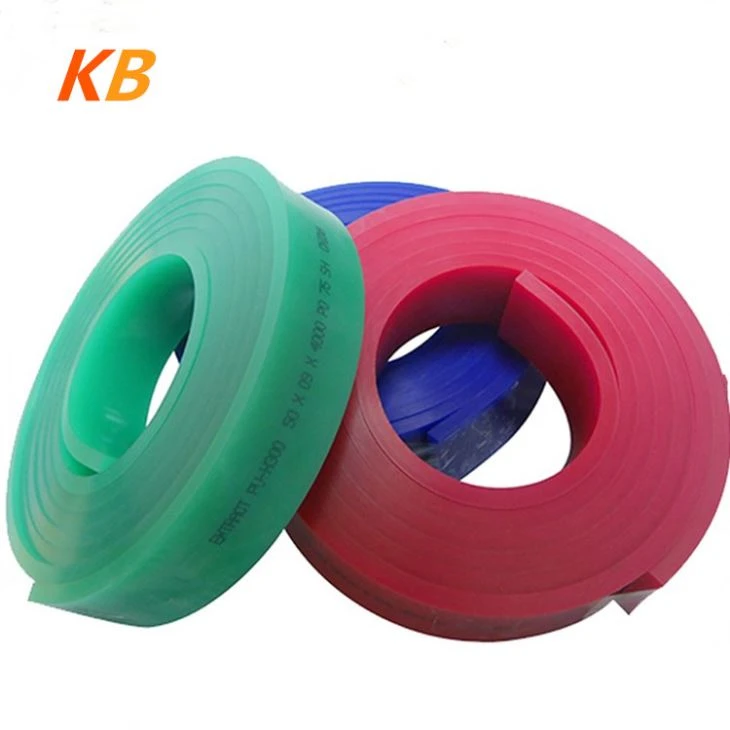
Once you have the measurement, use your scissors or utility knife to cut the screen blade to the same length. Be sure to cut the blade straight and evenly, as any uneven edges can affect the quality of your prints.
Step 2: Prepare the Squeegee Handle
Before you attach the screen blade to the squeegee handle, it's important to prepare the handle. Start by wiping down the handle with a clean cloth to remove any dirt, dust, or debris. This will ensure a clean and secure attachment.
Next, if your squeegee handle has any grooves or channels for the screen blade, make sure they are clean and free of any obstructions. You can use a small brush or toothpick to clean out the grooves if necessary.
Step 3: Attach the Screen Blade to the Squeegee Handle
Now it's time to attach the screen blade to the squeegee handle. Start by aligning the cut end of the screen blade with the end of the squeegee handle. Make sure the blade is centered and straight on the handle.
Once the blade is aligned, carefully slide it into the grooves or channels on the handle. Apply gentle pressure to ensure a snug fit. If the blade is too tight, you can use a small amount of lubricant, such as dish soap or silicone spray, to help it slide into place.
Step 4: Secure the Screen Blade
After the screen blade is attached to the squeegee handle, it's important to secure it in place. Depending on the type of squeegee handle you have, there are a few different ways to do this.
- Screws or Bolts: Some squeegee handles have screws or bolts that can be tightened to secure the screen blade. Use a screwdriver or wrench to tighten the screws or bolts until the blade is firmly in place.
- Clamps or Clips: Other squeegee handles use clamps or clips to hold the screen blade in place. Simply close the clamps or clips around the blade to secure it.
- Adhesive: In some cases, you may need to use adhesive to secure the screen blade to the squeegee handle. Make sure to use an adhesive that is specifically designed for screen printing applications.
Step 5: Test the Screen Blade
Once the screen blade is installed and secured, it's time to test it out. Start by applying a small amount of ink to a test screen or piece of paper. Then, use the squeegee to spread the ink evenly across the screen.
Pay attention to how the screen blade performs. Does it glide smoothly across the screen? Does it apply the ink evenly? If you notice any issues, such as uneven ink application or a rough surface, you may need to adjust the blade or make some additional adjustments to the squeegee handle.
Tips and Tricks
- Choose the Right Blade: As mentioned earlier, choosing the right screen blade is essential for achieving the best results. Consider factors such as the type of ink you're using, the substrate you're printing on, and the level of detail in your design when selecting a blade.
- Keep the Blade Clean: Regularly cleaning your screen blade is important for maintaining its performance. After each use, wipe the blade down with a clean cloth to remove any ink or debris. You can also soak the blade in a cleaning solution to remove any stubborn stains.
- Replace the Blade When Necessary: Over time, the screen blade will wear out and need to be replaced. Pay attention to the condition of the blade and replace it when it starts to show signs of wear, such as a dull edge or uneven printing.
- Practice Makes Perfect: Installing a screen blade takes practice, so don't be afraid to experiment and try different techniques. The more you practice, the better you'll become at installing the blade and achieving the perfect prints.
Conclusion
Installing a screen blade may seem like a daunting task, but with the right tools and a little practice, it's actually quite simple. By following the steps outlined in this blog post, you'll be able to install a screen blade like a pro and achieve those perfect prints every time.
If you have any questions or need further assistance with installing a screen blade, don't hesitate to contact us. We're here to help you find the right products and provide you with the support you need to succeed in your screen printing endeavors.
Whether you're looking for high-quality screen blades, squeegee handles, or other screen printing supplies, we've got you covered. Visit our website today to browse our selection of products and start creating amazing prints. We're always here to answer your questions and help you find the right solutions for your needs. So, why wait? Get in touch with us and let's start talking about your screen printing projects!
References
- Screen Printing Basics: A Beginner's Guide, Screen Printing Magazine
- The Art of Screen Printing, by John Smith